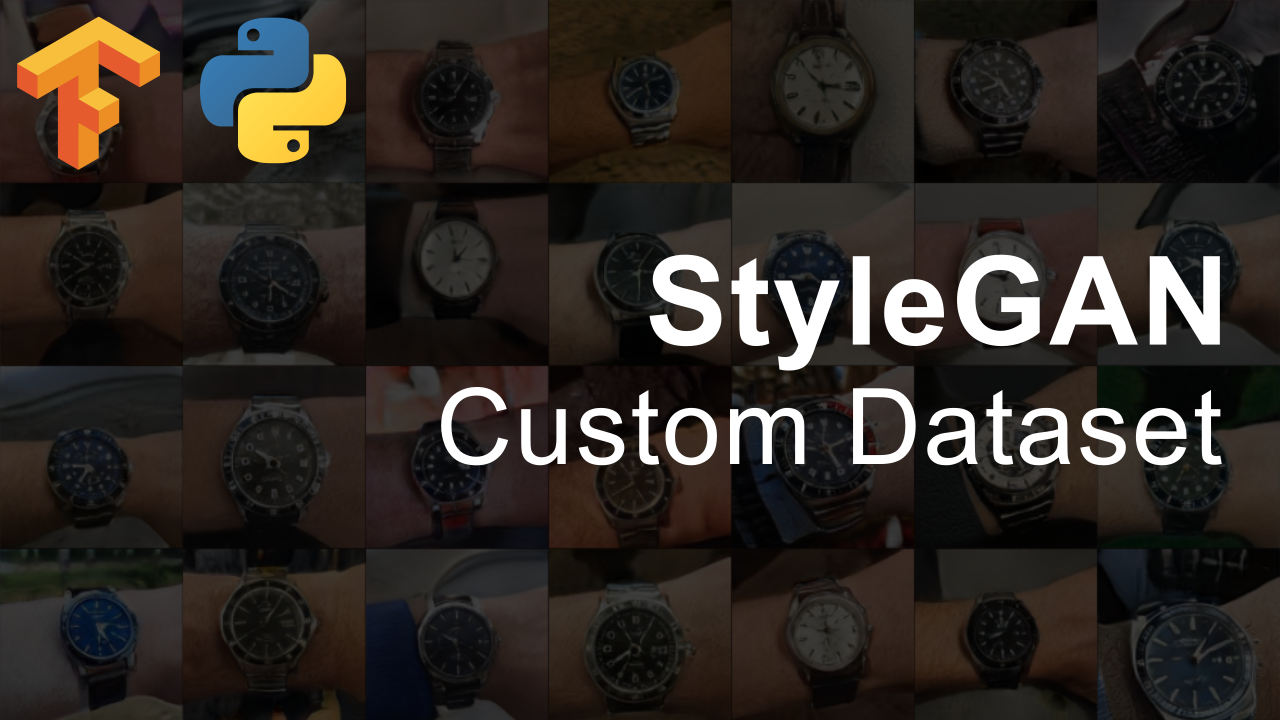
How To Use Custom Datasets With StyleGAN - TensorFlow Implementation
Mathias Pfeil
Author

Machine Learning
Category
July 26 2019
Time Created
The written portion of this tutorial is below. If you would like it in video format, here you go!
First, head over to the official repository and download it. Once done, put your custom dataset in the main directory of StyleGAN.
Now, we need to turn these images into TFRecords. Thankfully, this process doesn’t suck as much as it used to because StyleGAN makes this super easy. Just run the following command:
python dataset_tool.py create_from_images datasets/LOCATION_TO_SAVE_TF_RECORDS ./NAME_OF_YOUR_DATASET_DIRECTORY
Now, let’s head over and edit the train.py file. Again, StyleGAN makes this painless. Just comment out configuration settings you don’t want and uncomment the ones you want. As an example, let’s say we have 4 GPUs (I wish), just uncomment that line and comment the 8 GPUs default setting. Like so:
    # Number of GPUs.
    #desc += '-1gpu'; submit_config.num_gpus = 1; sched.minibatch_base = 4; sched.minibatch_dict = {4: 128, 8: 128, 16: 128, 32: 64, 64: 32, 128: 16, 256: 8, 512: 4}
    #desc += '-2gpu'; submit_config.num_gpus = 2; sched.minibatch_base = 8; sched.minibatch_dict = {4: 256, 8: 256, 16: 128, 32: 64, 64: 32, 128: 16, 256: 8}
    desc += '-4gpu'; submit_config.num_gpus = 4; sched.minibatch_base = 16; sched.minibatch_dict = {4: 512, 8: 256, 16: 128, 32: 64, 64: 32, 128: 16} # Uncomment this line
    #desc += '-8gpu'; submit_config.num_gpus = 8; sched.minibatch_base = 32; sched.minibatch_dict = {4: 512, 8: 256, 16: 128, 32: 64, 64: 32} <- Comment out this line
We also need to point to our data set, which we do in the same train.py file as mentioned above:
# desc += '-ffhq';     dataset = EasyDict(tfrecord_dir='ffhq');                 train.mirror_augment = True <- replace this with the line below
desc += '-NAME_OF_YOUR_DATASET_DIRECTORY';     dataset = EasyDict(tfrecord_dir='NAME_OF_YOUR_DATASET_DIRECTORY', resolution=YOUR_RES); train.mirror_augment = False
Now let’s train! Just run the following command.
python train.py
Once training has completed, its time to generate some images! Just edit the following lines in the pretrained_example.py file:
    # Switch these lines
    url = 'https://drive.google.com/uc?id=1MEGjdvVpUsu1jB4zrXZN7Y4kBBOzizDQ' # karras2019stylegan-ffhq-1024x1024.pkl
    with dnnlib.util.open_url(url, cache_dir=config.cache_dir) as f:
        _G, _D, Gs = pickle.load(f)

    # To this
    url = os.path.abspath("results/00000-sgan-custom-dataset-4gpu/YOUR_LAST_NETWORK_SNAPSHOT")
    with open(url, 'rb') as f:
        _G, _D, Gs = pickle.load(f)
And you are done! Just run "python pretrained_example.py" and then check out your result! You should have one generated image in the results directory. If you would like to generate multiple, you can make these changes to pretrained_example.py
    # Switch these lines
    rnd = np.random.RandomState(5)
    latents = rnd.randn(1, Gs.input_shape[1])

    fmt = dict(func=tflib.convert_images_to_uint8, nchw_to_nhwc=True)
    images = Gs.run(latents, None, truncation_psi=0.7, randomize_noise=True, output_transform=fmt)

    os.makedirs(config.result_dir, exist_ok=True)
    png_filename = os.path.join(config.result_dir, 'example.png')
    PIL.Image.fromarray(images[0], 'RGB').save(png_filename)

    # To this
    for x in range(0, 480):
        # Pick latent vector.
        rnd = np.random.RandomState(x)
        latents = rnd.randn(1, Gs.input_shape[1])

        fmt = dict(func=tflib.convert_images_to_uint8, nchw_to_nhwc=True)
        images = Gs.run(latents, None, truncation_psi=0.7, randomize_noise=True, output_transform=fmt)

        os.makedirs(config.result_dir, exist_ok=True)
        png_filename = os.path.join(config.result_dir + '/finished', 'example' + str(x) + '.png')
        PIL.Image.fromarray(images[0], 'RGB').save(png_filename)
Now create a finished directory in your results directory and all of you generated images should now be saved there!
And that is about it! If you have any questions, feel free to contact me. I hope this post was helpful!